
How to Recover Deleted Files on Windows Without Making Things Worse
If you deleted files on Windows, speed matters, but the first priority is not clicking faster. The priority is stopping new writes to the same drive. Deleted files may still be recoverable until Windows or another app reuses that space.
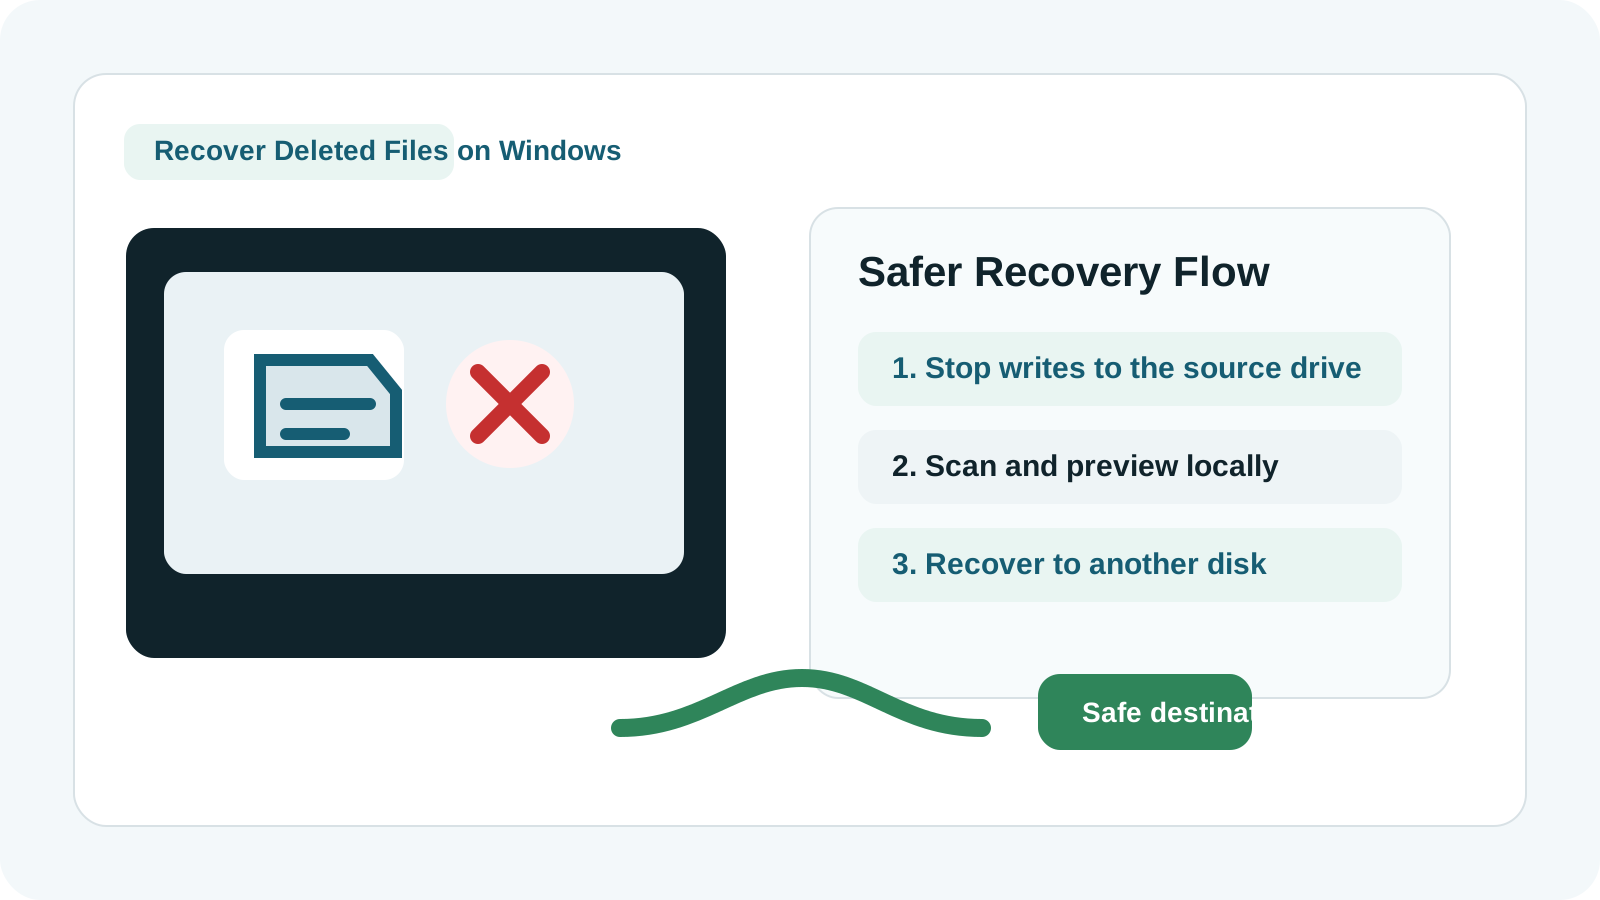
What to do immediately after deleting files
- Stop using the drive or partition where the files were stored.
- If the files were on the Windows system drive, reduce downloads, browser caching, and installs as much as possible.
- Prepare a different physical drive for recovered files before you scan.
- Check the Recycle Bin first unless the files were Shift Deleted or removed from removable media.
Check restore options before deep scanning
Recycle Bin
If the files are still there, restore them first. This is safer and preserves names and paths.
File History and Previous Versions
If Windows backup features were enabled, a restore is usually more reliable than any scan.
Cloud sync and app recovery
OneDrive, Office, design tools, and editors may keep deleted items, version history, or autosaves.
Other copies
Check external drives, USB devices, email attachments, and collaboration tools before scanning the source disk.
When local recovery software makes sense
If the files are no longer in the Recycle Bin and you do not have a usable backup, local Windows recovery software can scan the drive for deleted or lost records.
Results are not guaranteed. Overwritten data, filesystem corruption, SSD TRIM behavior, and physical damage can reduce what is recoverable.
A safer Recovery Studio workflow
1. Install in a safe location
Do not install the software on the drive that lost data. Use another internal partition only if it is physically separate, or use a different external drive when possible.
2. Select the correct disk
Choose the drive, partition, USB device, or external disk where the deleted files originally lived.
3. Run a scan and review results
Start with the visible results, then use deeper scanning if needed. Large drives and fragmented data may take longer.
4. Preview before recovery
Preview supported photos, PDFs, or text files first so you recover the most relevant files.
5. Recover to another physical drive
Saving the output to a different disk reduces the risk of overwriting remaining deleted data.
What can lower recovery chances
- Installing apps onto the same system drive where data was lost.
- Recording new video, downloading game files, or copying large folders after deletion.
- Trying many repair commands on a possibly damaged drive before you understand the condition.
- Continuing to power a drive that clicks, spins down, or disconnects repeatedly.
FAQ
Can deleted files always be recovered on Windows?
No. Recovery depends on overwrite, device health, filesystem condition, and whether useful metadata or file content still remains.
Should I install recovery software on the same drive?
No. Installing to the source drive can create new writes that overwrite recoverable data.
Why recover to another physical drive?
Saving recovered files to the source drive can overwrite other deleted files that have not been recovered yet.
What if the drive is physically damaged?
If the drive clicks, is not detected consistently, smells burnt, or suffered impact or water damage, stop DIY recovery and use a specialist lab.
Related guides
Can permanently deleted files still be recovered?
Understand overwrite risk after Shift Delete or an emptied Recycle Bin.
Recover files after emptying the Recycle Bin
Follow a backup-first workflow before starting a deeper scan.
Read the Recovery Safety Guide
Review the rules that reduce overwrite and recovery mistakes.