
How to Scan a Drive for Deleted Files Safely
Scanning a drive for deleted files is useful only if the scan does not create new writes that overwrite what you are trying to recover. Start by protecting the source disk, then choose the right drive and recovery destination.
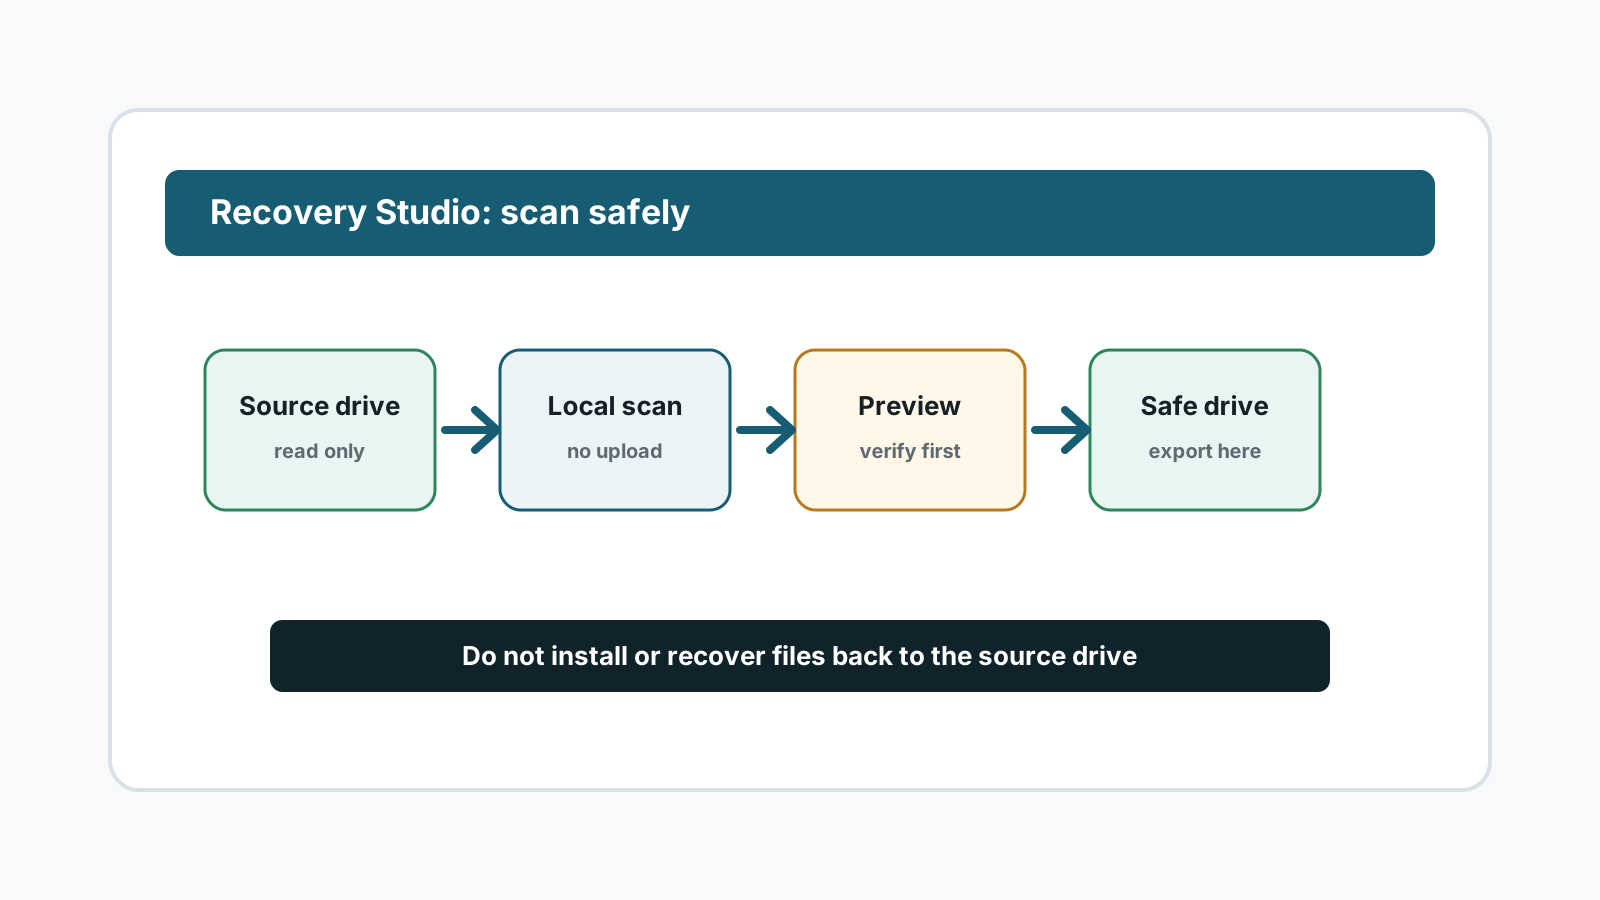
Before you start the scan
- Stop using the disk, partition, USB drive, external drive, or memory card where the files were lost.
- Install or run recovery software from a different physical drive when possible.
- Prepare a separate destination disk before starting recovery.
- If the device is unstable or physically damaged, stop and use a specialist instead of repeated scans.
Choose the correct source drive
In Recovery Studio, select the drive or partition where the deleted files originally lived. Do not select the destination drive by mistake.
For removable devices, connect the USB drive, external drive, or card reader directly and avoid copying new files to it before the scan.
Start with the least risky scan path
Recent deletion
A faster scan may locate records and preserve more names when metadata is still available.
Formatted or damaged metadata
A deeper scan can search file signatures, but names and folder structure may be incomplete.
Large drives
Keep the computer powered and avoid interrupting a long scan unless the device shows physical warning signs.
System drive losses
Reduce downloads, browser cache, updates, and app installs before scanning the C drive.
Review results before recovery
1. Use file categories
Open photos, documents, videos, audio, archives, or other groups instead of browsing one long list.
2. Search for likely names
Search can help when metadata remains, but deep scan results may use generated names.
3. Preview valuable files first
Preview supported files before exporting so you do not write unnecessary output.
4. Recover selected files elsewhere
Export only to a different physical disk, then verify the files from that destination.
Using Recovery Studio FAQ
Can I scan the same drive where Recovery Studio is installed?
It is safer to avoid installing recovery software on the affected source drive. New installation files can overwrite deleted data.
Should I scan an entire drive or just a partition?
Choose the location where the files were lost. If you are unsure after formatting or partition changes, scanning the broader device may make sense, but it can take longer.
Can a scan guarantee the files are recoverable?
No. Results depend on overwrite, storage type, device health, and available metadata.
Where should recovered files go?
Use another physical disk, not the source drive.